Record working times with MyTaskPanel: step by step

When you are part of a team and you have to record and control work times, it may happen that you have to record them in a table that is manually renewed every month, because they do not have a more agile methodology. Therefore, today we want to show you how we do it in the simplest and fastest way using MyTaskPanel. Below we share the step by step of the two ways we have to record working times:
A. From the task panel:

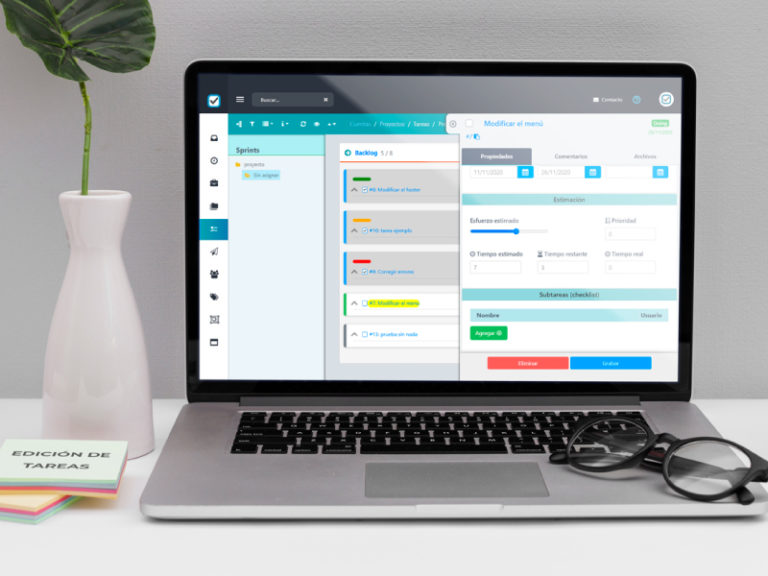
- When creating a task, you have the option to indicate the time remaining to finish the task. If you don’t, you can mark that time in the task’s edit panel. In the latter, you will find three notions of time. The estimated time will be equal to the remaining time you have loaded.
- While the task is executing, the person in charge assigned will load the real time that has been worked and will finish by placing the number of the remaining time in 0 and ending the task.
- This first alternative must be done task by task.
B. From the Time Register menu:

- If, on the other hand, you prefer to record working times using a spreadsheet system, you can use the Time Record functionality. What you can see and / or do will depend on the permissions you have, namely: an Administrator user will be able to see all the records and edit them; a Member user will be able to access only their records; a Guest user will be able to view those assigned to him, but cannot modify them.
- When entering the menu, you will always find the week you are currently in. You can choose a particular project to which you are assigned and a specific task within said project, modify the description to specify what you have done and load the time you have spent on that activity, on the corresponding day. Likewise, you have the possibility to choose a specific project without specifying a task or to select a task or activity that is not related to a project.
- Within the menu, you can choose the monthly view that begins on the first day of the month and ends on the last, and highlights the days that have registered hours and the current date. With this view you scroll through the month to find the desired date and fill it in with the corresponding number. Otherwise, if you stick with the weekly view, you can choose the week you want with a drop-down box.
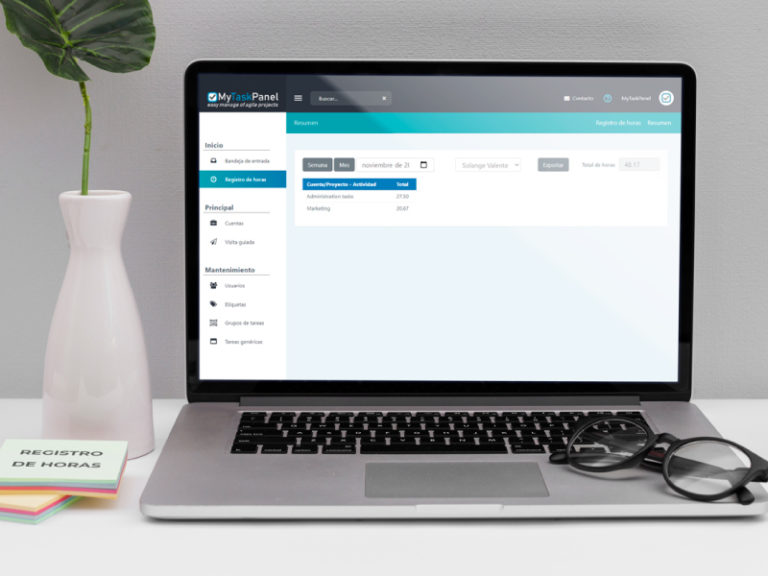
- In another order of things, you have a Summary view to view the total hours loaded for the month or week of your choice.
- Finally, export the complete spreadsheet in an Excel file with several tabs that will save the recorded times in time and decimal format, both from day to day and from the Summary.
Always remember that if you choose a particular task, the time that you indicate in the Time Register table is transferred to the task in question in the real time box. For this reason, we recommend that you choose one of the two ways to record working times and avoid using both.
